Translate

Saturday, July 8, 2017

Clean Happy Camper

Linking this card to Freshly Made Sketches #295. My older daughter is off to Horse Camp and she is so excited! I picked up the 'Happy Camper' Dies on clearance and knew it would come in handy for Camp Cards. She will be gone for two weeks, so I hope to be posting several more cards in the coming days. This card was fun to make even though it was a challenge for me to make it 'clean'. When I try for clean cards, they usually end up being boring, but I think I managed to add enough detail to keep it interesting. I embossed the heart with a woodgrain ef, and added a scrap strip that was leftover from last year's camp cards. The horses sticker is actually puffy, so that also adds some interest. I didn't want the background to just be plain, so I found an old border stamp and used my MISTI to line it up. Love that the sketch just begged me to use enamel dots (my favorite)! TFL!
Supplies Used:
Paper: We R memory keepers: Happy Campers
Stamps: The Paper Studio: Dots & Stripes
Ink: Distress Walnut Stain
Dies: Momenta: Happy Camper


Friday, June 23, 2017

Sailboat with Vivid Sunset

Made this card for my dear father-in-law for Father's Day. First, I colored the sailboats and water swirl stamped images with Copics. I then used distress inks to ink up the water using the stencil that came with the Sailboat Stamps. I then masked off the stenciled water, created a circle mask for the setting sun and inked up the background using distress inks. I fussy-cut the sailboats and water swirls and glued them to the panel which was then mounted on brown cardstock which really made the colors pop. I just love how the copics blend to create such beautiful variations of color. TFL!

Supplies Used:
Inks: Copics, Memento Tuxedo Black, Distress
Stamps/Stencil: Stampendous Cling Sailboats & Stencil Set


Distress Oxide Double Rainbow


Friday, May 12, 2017

Pretty Pink Treats


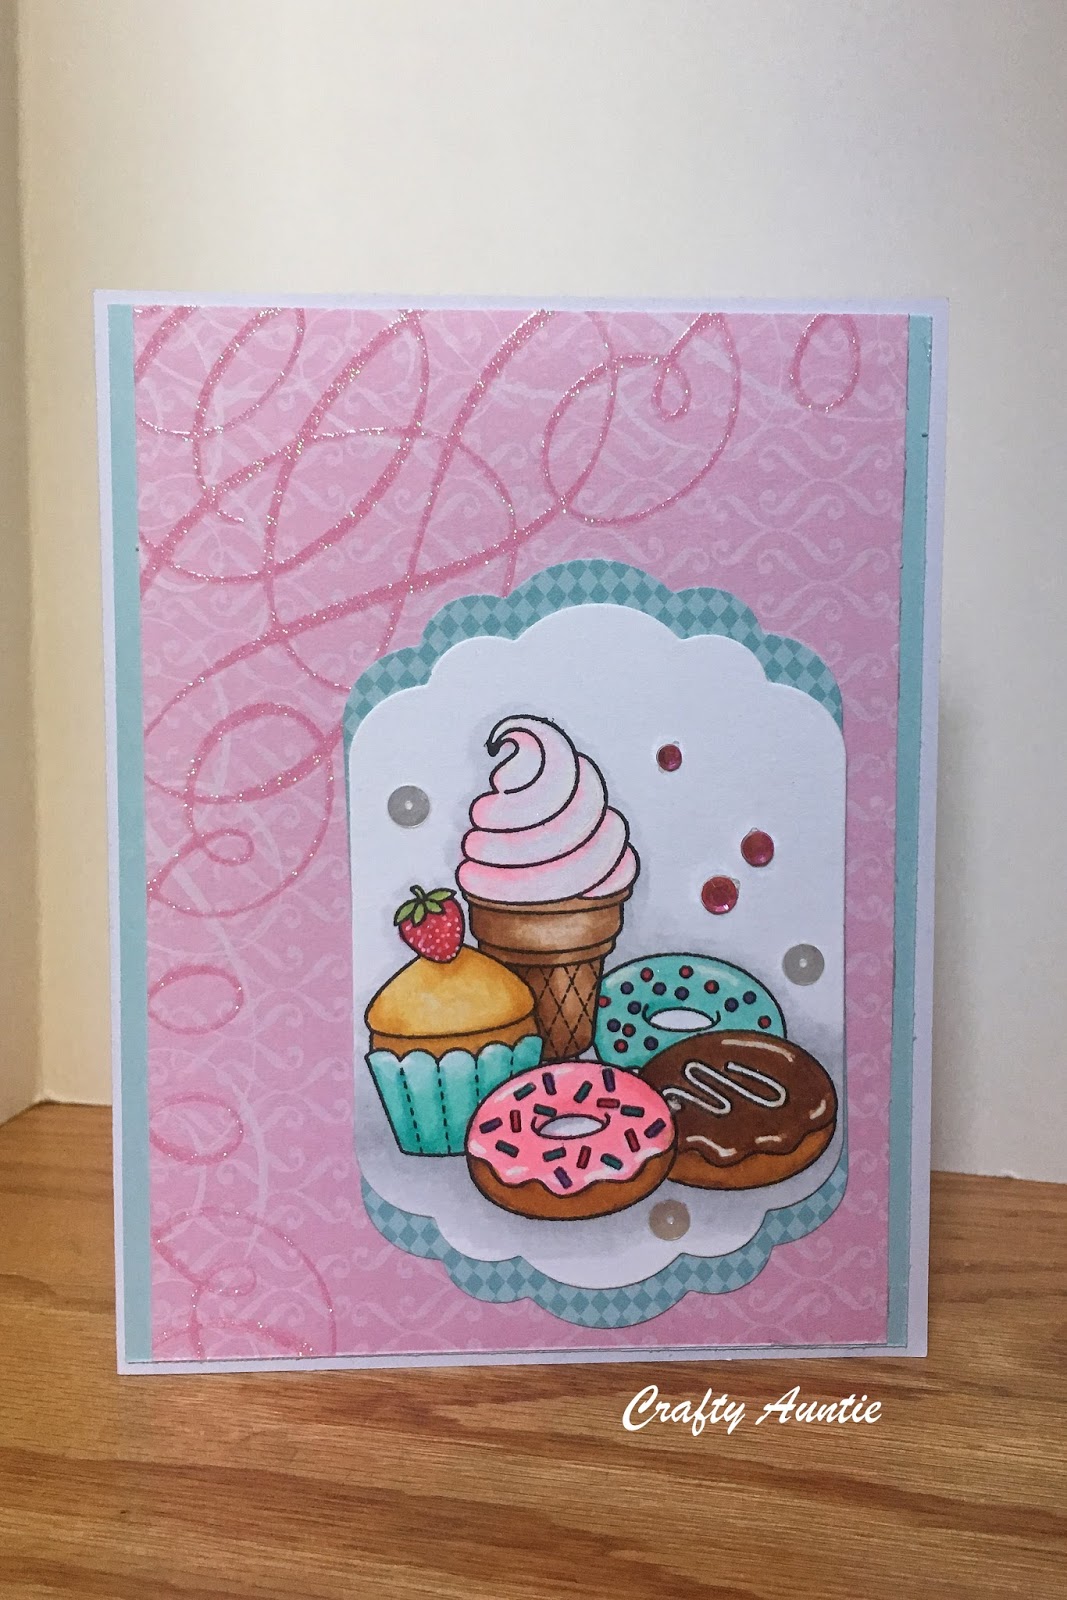
Made this sweet card today using Sunny Studio's Sweet Shoppe Stamps. Love using the mint and pink papers with these stamps! I tried something rather new for me when making the mint scallop edge: The large image only fit inside the largest label die, but I still wanted to mat it. So, I only partially cut the mint background paper, then moved the die and cut a second time, thus extending the label. I know you can't see the side edges, but they actually are perfectly lined up! Oh - I guess that means I could have just die cut the whole label then cut it in two to reposition it so that just the edges extended...duh! Oh well, now I know I can actually do the fancy extended cut which may come in handy another time! I colored the image with my copics, but I still need lots more practice. I like how I was able to get a really light pink by using the colorless blender to pick up RV21 that I scribbled onto an acrylic block. I don't know why I left the cupcake unfrosted, and I still have to work on the highlights, but overall I don't think it's too bad. 

Supplies Used:
Stamps: Sunny Studio Sweet Shoppe
Dies: Nestabilities Labels Eleven
Paper: DCWV Sweet Matstack, MFT Sweet Celebration, Recollections Blue Ombre
Ink: Memento Tuxedo Black, Copics, White Gel Pen, Wink of Stella


Thursday, April 6, 2017

A Pop of Purple

Another entry for hMOJO491. Love that sketch! Used more papers from my ancient stash (but I still love the vibrant colors) and was at a loss as to what to put in the circle until I dug through my old binder of stickers....so happy to find one that actually matches! TFL!

Wednesday, April 5, 2017

Mojo Monday #491

Created this using the layout from Mojo Monday's Sketch Challenge #491. I love this sketch because it really inspires me to use some of the many dps I have accumulated but haven't used in awhile. To coordinate with the star dp, I embossed a white-core cardstock panel, sanded it, and distressed the edges. I stamped and embossed the cake, then colored it with copics. For the sentiment, I created a shadow by using the MISTI and stamping it first with black ink, then stamping a second time, slightly offset, with VersaMark and heat embossed with Leaf Green embossing powder. For a final touch, I added three star brads - one was a little too pink, so I colored it with a copic.  Thanks for stopping by!

Supplies Used:
Stamps: WeRMemoryKeepers (sentiment), Hampton Art (Cake)
Inks: Memento Tuxedo Black, VersaMark, Copics
Other: Darice stars ef, Nestabilities Circle Die, star brads, Zing! ep


Thursday, March 23, 2017

Vintage Roses


I absolutely love Altenew's layered stamps, but every time I use them, I struggle with lining them up just right. After watching a recent Jennifer McGuire video (which you can find here), I took her suggestion to use vellum to help line up the stamps. This made it so much easier!!! Thank you, Jennifer for yet another super tip!! I was so happy with the results after using the vellum, that I decided to finally stamp directly onto my card. (In the past, because it took so much effort to line up my stamps, I would make a whole bunch of each flower & die cut them then I would layer the die cuts onto my card.)

I started out using just blue inks here, but I only have two or three that go together well, so I decided to add some purple to the mix.  Ironically, after I started, Kathy Racoosin posted this beautiful card of purple/blue flowers at The Daily Marker. So pretty!!

It did take me quite a long time to complete this card because of all the masking and layered stamping. And even though I messed up on one leaf image, considering I stamped over twenty layered images here, messing up on one isn't too bad. I'm excited to use these stamps more in the (hopefully near) future. TFL!

Supplies:
Stamps: Altenew Vintage Roses
Dies: Spellbinders Sentiments One
Ink: Altenew Shades of Purple & Green Fields, Colorbox Sky & Royal Blues
Other: Pretty Pink Posh Sequins