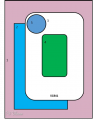
Finally got to use my TSOL stamps: flipflops2stamp. Had the perfect paper to use for this set! First up is a Thank You which follows the SC489 Sketch over at Splitcoaststampers.
Supplies Used:
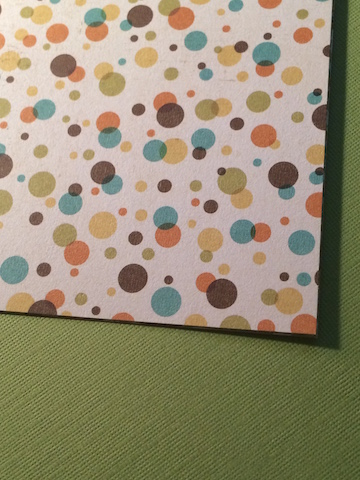
Paper: TPS
Stamps: TSOL flipflops2stamp & freebie Thank You
Ink: TH Distress Inks: Picked Raspberry & Salty Ocean
Dies: Spellbinders: Scallop & Classic Circles, Sizzix: Frames, Circle Combo
Other: VersaMark & white embossing powder, Ribbon, Sequins
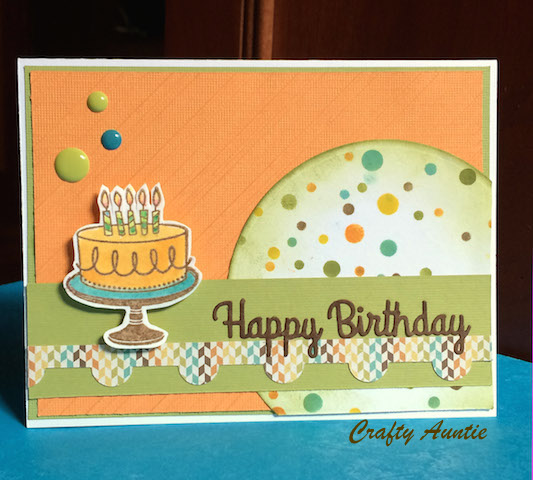
Next, is a pair of cards all ready to send to my daughters while they are away at camp this summer. (There is much to do to get the girls ready for their week-long stay, but somehow making them at least this one card was the priority at the moment!) These flip flop stamps are so fun! I used my other TSOL stamp sets for the clouds & suns. I did have a bit of a disaster happen though: I'm a very messy stamper and once the creative juices start flowing, I pull out EVERYTHING all AT ONCE - and so I nearly lost one of my clear stamps! I spent nearly an hour going through EVERYTHING but no luck. Then, the next morning, there it was: staring right at me, attached to a laminated card I had propped up on my desk. I need to have a dedicated craft space already. Seriously!!
Supplies Used:
Paper: TPS
Stamps: TSOL flipflops2stamp, crazy4daisies, back2basics, happyBday2you
Ink: TH Distress Inks: Mustard Seed, Picked Raspberry & Salty Ocean
Other: CM tearing tool